AI Dehaze Window Light for Real Estate Photos
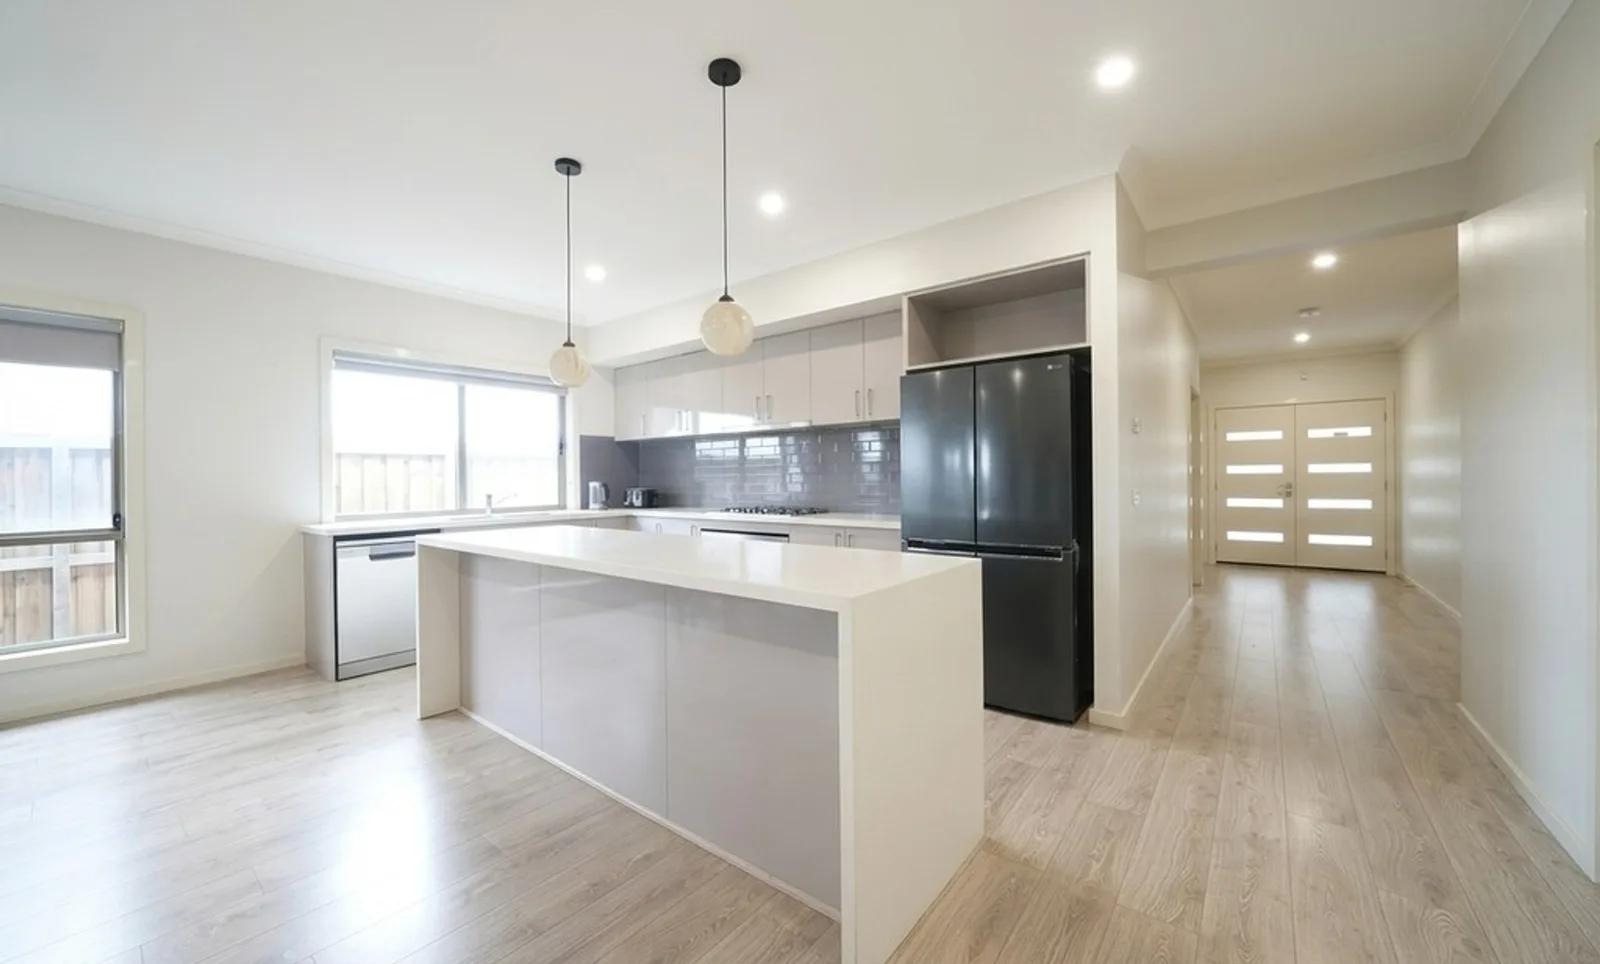
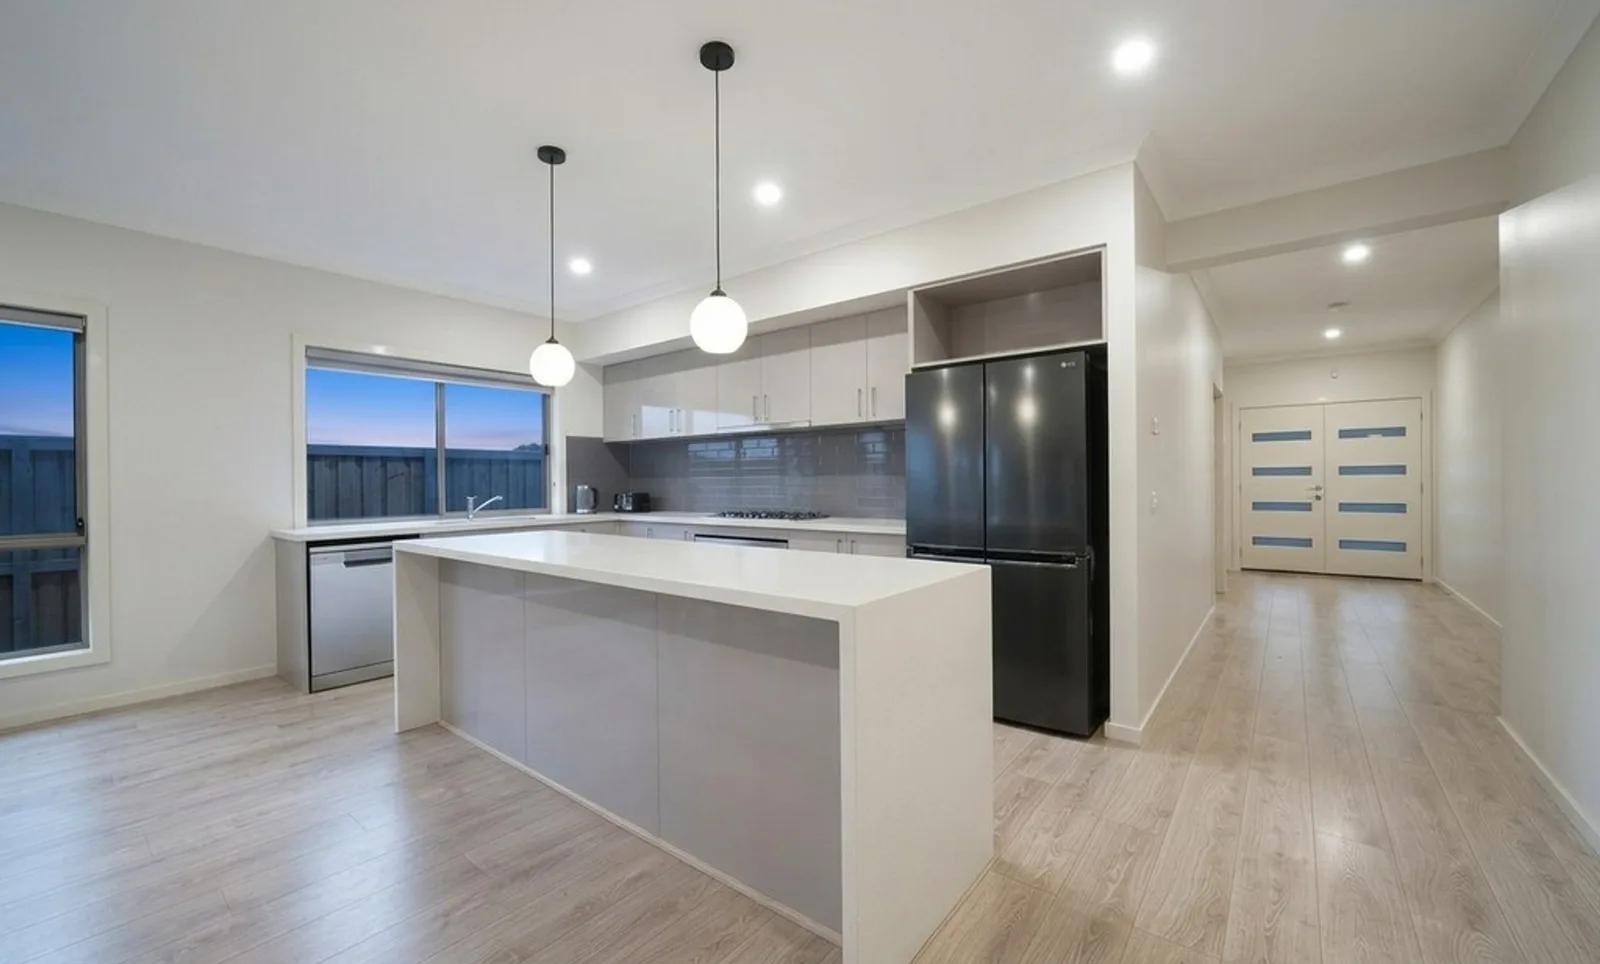
Our AI Dehaze Window Light tool fixes the bright-window problem that can flatten an otherwise strong interior listing photo. Upload a room image where the window has blown out to white or strong daylight has washed glare across the space, and we rebalance the scene: the window area becomes readable again, the veiling haze is reduced, and the room regains clearer contrast. Window frames, glazing bars, blinds, curtains, furniture, fixtures, finishes, and layout stay in place. You get a cleaner, more balanced property photo from a single image — without manually masking windows or blending bracketed exposures in Photoshop.
What Is AI Window Light Dehazing?
AI window light dehazing is a targeted real estate photo-editing process for interiors with overexposed windows and washed-out contrast. When a camera exposes correctly for the room, bright daylight outside can exceed the image’s usable dynamic range, leaving the glass as a white rectangle and creating veiling glare across nearby walls, floors, furniture, and finishes. We target that imbalance from one source photo, reduce the glare, and reconstruct a plausible outdoor view in areas where the original window detail is missing.
In real estate photography, this problem is closely related to a window pull or HDR exposure balance, but the workflow is different. Traditional HDR combines multiple exposure-bracketed photos captured at the property. Our Dehaze Window Light tool works after the shoot from a single image, which makes it useful when you already have the listing photo but the window exposure needs help.
How to Fix Blown-Out Windows in a Photo
Balancing bright window light takes three steps and no manual exposure blending:
- 1Upload your photo — Add the interior image with blown-out windows, harsh daylight, or washed-out window glare.
- 2Dehaze the window light — We detect the bright window area, reduce veiling glare, balance local contrast, and reconstruct a plausible exterior view where detail was clipped.
- 3Download or refine — Compare the edit with your original, save the result, or continue with another property-photo enhancement.
The edges matter as much as the exposure. We preserve the window frame, sill, glazing bars, blinds, curtains, and the surrounding room while working on the bright area and the glare around it. Before publishing, check fine window edges, reflective surfaces, exterior-view details, and the transition between the glass and the interior so the finished image still looks natural.
Why Balanced Window Light Makes Interiors Easier to Read
A blown-out window can dominate an interior photo and make the whole room feel flatter than it really is. Balancing the window and the surrounding light helps agents, photographers, property managers, and hosts present bright rooms more clearly:
- Room and window stay readable — Reduce the white-window effect so the interior and the glass no longer compete for attention.
- Less glare across the room — Clearing veiling haze restores contrast on walls, floors, furniture, and nearby finishes.
- Stronger hero images for bright spaces — Large windows can support the composition instead of becoming a distracting block of white.
- Faster than manual exposure blending — Improve a single source photo without masking the window or merging several bracketed frames by hand.
- A more consistent listing gallery — Bring sunlit rooms closer to the balanced presentation of the rest of your property-photo set.
Window-Light Problems We Can Improve
Dehaze Window Light is built for high-contrast interior scenes where daylight through the glass overwhelms part of the image:
- Blown-out windows — bright window areas that have clipped to white while the room itself remains usable.
- Veiling glare — washed-out haze from strong window light spreading across nearby walls, floors, furnishings, or finishes.
- Low local contrast — interior textures and edges around the window looking flat because of scattered bright light.
- Lost exterior readability — sky, garden, or street detail no longer visible through the glass in the source photo.
Dehaze Window Light, HDR, and Color Normalisation
These workflows solve related photo problems, but they are not interchangeable:
- Dehaze Window Light is the single-photo fix — we target blown-out windows and the glare they cast, then reconstruct a plausible view where the original highlight detail is missing.
- HDR or a traditional window pull starts at the shoot — multiple exposure-bracketed frames are captured and blended so real highlight and shadow information is available across the scene.
- Color Normalisation handles tone and white balance — it corrects warm, cool, or inconsistent colour, but it is not designed to rebuild a completely blown-out window.
Use Dehaze Window Light when you already have one interior photo with a bright-window problem. If an exact exterior view is important to the listing, capture bracketed exposures and use an HDR workflow instead. If the exposure is acceptable but the room’s colour looks wrong, reach for Color Normalisation.
Inputs & Outputs
Keep Window Views Honest
- Window dehazing is about exposure balance and presentation, not inventing documentary detail. If a window is pure white in the original, the real scene outside is not present in the source image, so our AI can only reconstruct a plausible view — it cannot know exactly what was beyond the glass. Always compare the edit with the original and confirm that the room, frames, blinds, curtains, fixtures, finishes, and visible property features remain accurate. Where the true exterior view is material to the listing or is itself a selling point, reshoot with exposure bracketing rather than treating an AI reconstruction as exact evidence of what is outside.
Frequently Asked Questions
What is AI Dehaze Window Light for real estate photos?
AI Dehaze Window Light is a targeted property-photo edit for interiors with blown-out windows and strong window glare. We reduce the washed-out haze, rebalance local contrast, and make the window area more readable while preserving the room itself.
How do I fix blown-out windows in a property photo?
Upload the interior image, choose Dehaze Window Light, and let us process the bright window area and surrounding glare. Review the result against the source photo before downloading or applying another edit.
Is Dehaze Window Light the same as HDR or a window pull?
Not exactly. HDR and traditional window pulls usually rely on multiple exposure-bracketed photos captured at the property and blended later. Dehaze Window Light works from a single photo after the shoot, so it is faster when you do not have bracketed exposures available.
Can AI recover the exact view through a completely white window?
No. If the original window contains no usable exterior detail, we cannot know the exact scene outside. The tool reconstructs a plausible view, so use exposure bracketing or a reshoot when the true exterior view must be represented precisely.
Does window dehazing change the room itself?
The edit targets the windows and the glare they cast. Furniture, fixtures, finishes, window frames, blinds, curtains, and the room layout are intended to remain as they appear in the original, but you should always review the final image before publishing.
Can I try Dehaze Window Light for free?
Yes. New Enhancia accounts receive 10 free credits with no credit card required, so you can test the window-light workflow on your own property photos before buying more credits.
Related Tools
Color Normalisation
We make property photo color correction simple by balancing unwanted color casts, white tones, brightness, and overall tone so listing images look cleaner and more consistent before you publish them.
AI Real Estate Photo Enhancer
Our AI real estate photo enhancer gives you targeted control over the issues that make listing photos feel unfinished. Upload a property image, choose the edit it actually needs, and we improve that specific part of the photo — from colour and white balance to perspective, sky, clutter, facade presentation, or resolution. Instead of pushing one generic filter across the whole image, we help you refine the photo in focused passes, review the result, and keep building toward a clean, listing-ready finish.
More resources
Read related guides in the Enhancia Knowledge Base, or see full pricing details on the pricing page.